This elegant Chocolate Mirror Glaze creates a smooth, shiny coating that instantly transforms an ordinary cake into a showstopping dessert. While it may look complicated, the process is surprisingly approachable with a little patience and careful attention to temperature. The glaze is made from simple pantry ingredients like cocoa powder, cream, sugar, water, and gelatin, resulting in a silky chocolate coating that sets beautifully over chilled cakes.
The secret to a flawless mirror glaze isn’t expensive equipment—it’s taking your time. Blooming the gelatin correctly, straining the glaze, and pouring it at the right temperature all contribute to that signature glossy finish. Whether you’re decorating a birthday cake, holiday dessert, or special celebration cake, this recipe delivers a rich chocolate flavor along with a stunning professional appearance.
What is Chocolate Mirror Glaze?
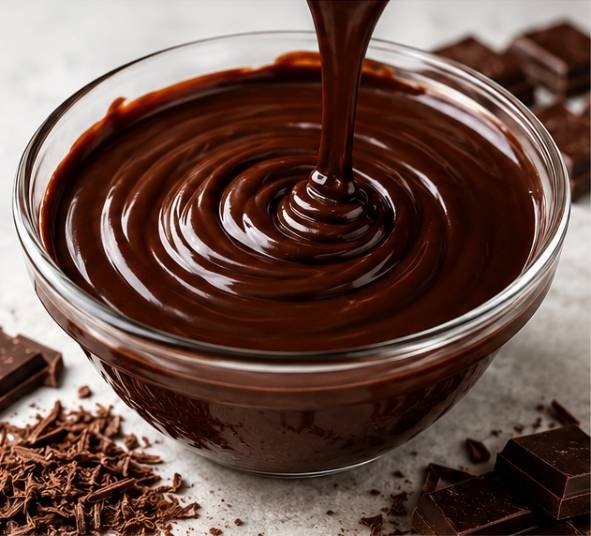
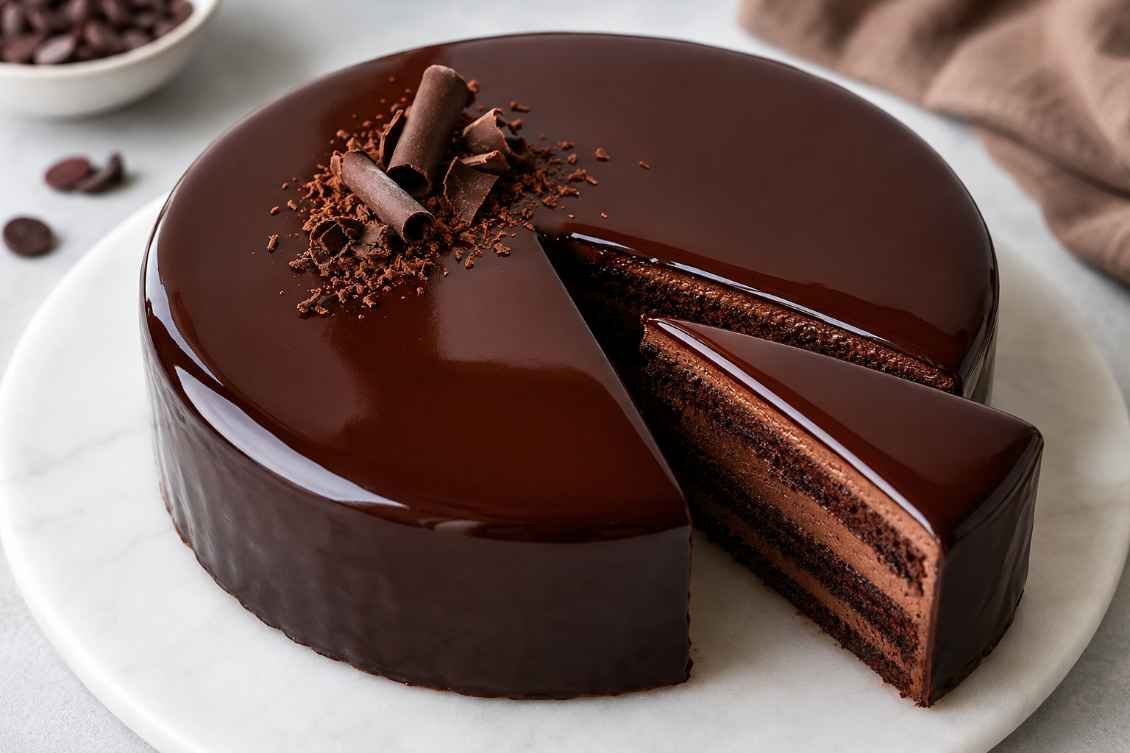
Chocolate Mirror Glaze is a glossy chocolate coating that is poured over a cold, smoothly frosted cake. As it cools, it forms a thin, shiny layer that reflects light almost like a mirror. Unlike thick chocolate frosting, this glaze creates a delicate finish that melts pleasantly in every bite while giving cakes a luxurious bakery-quality appearance.
Also Read: Pineapple Upside Down Cake
Ingredients
| Ingredient | Quantity | Purpose |
|---|---|---|
| Cold water (for blooming gelatin) | 2½ tablespoons | Hydrates the gelatin |
| Unflavored gelatin powder | 4 teaspoons | Creates the glossy mirror finish |
| Water | ⅔ cup | Forms the glaze base |
| Heavy cream | ⅔ cup | Adds richness and smooth texture |
| Unsweetened cocoa powder (preferably Dutch-processed) | 1 cup | Provides chocolate flavor and deep color |
| Granulated sugar | 1 cup plus 2 tablespoons | Sweetens and gives shine |
Also Read: Quick Taco Soup with Pulled Pork
How to Make Chocolate Mirror Glaze
Step 1: Bloom the Gelatin
Pour the cold water into a small bowl and sprinkle the gelatin evenly over the surface. Stir gently until all of the powder is moistened. Let it sit for about 5 minutes until it becomes thick and sponge-like.
Step 2: Prepare the Chocolate Base
In a medium saucepan, combine the cocoa powder with the water and whisk until a smooth paste forms. This helps prevent lumps later in the glaze.
Step 3: Add Cream and Sugar
Add a small splash of cream first and stir until the cocoa mixture loosens. Pour in the remaining cream and sugar, stirring gently just until everything is combined.
Step 4: Heat the Mixture
Place the saucepan over medium heat and slowly bring the mixture to a gentle boil. Once it starts boiling, immediately remove it from the heat.
Step 5: Stir in the Gelatin
Add the bloomed gelatin to the hot chocolate mixture. Stir gently until the gelatin completely dissolves. Avoid whisking vigorously because trapped air bubbles can ruin the mirror finish.
Step 6: Strain the Glaze
Pour the glaze through a fine-mesh sieve into a clean bowl to remove any lumps or tiny bubbles. Cover the surface directly with plastic wrap to prevent a skin from forming.
Step 7: Cool to the Correct Temperature
Allow the glaze to cool until it reaches approximately 30°C (86°F). This temperature allows the glaze to flow smoothly without melting the frosting underneath.
Step 8: Glaze the Cake
Place a thoroughly chilled cake on a wire rack over a tray. Pour the glaze steadily over the center of the cake, allowing it to flow naturally over the sides. Avoid spreading it with a spatula unless absolutely necessary.
Step 9: Let the Glaze Set
Allow excess glaze to drip away for several minutes before transferring the cake to a serving plate. Refrigerate briefly until the glaze is fully set.
Also Read: Creamy Cauliflower Soup
What You Can Do Better
- Always use a cake with an ultra-smooth ganache or buttercream finish because every bump will show through the glaze.
- Use a kitchen thermometer for the best results instead of guessing the pouring temperature.
- Strain the glaze at least once to remove lumps and tiny air bubbles.
- Pour the glaze in one continuous motion rather than stopping halfway.
- Keep the cake thoroughly chilled before glazing to help the coating set evenly.
- Handle the finished cake as little as possible to preserve the glossy finish.
- Use Dutch-process cocoa powder for a richer chocolate flavor and darker appearance.
Storage Tips
- Store the glazed cake in the refrigerator for up to 3 days.
- Cover loosely with a cake dome rather than plastic wrap to avoid damaging the shiny surface.
- The leftover glaze can be refrigerated for up to 5 days.
- Reheat leftover glaze gently until smooth before using again.
- Avoid freezing the finished mirror-glazed cake if possible, as condensation may reduce its shine after thawing.
Also Read: Pistachio Pear Tart
Common Mistakes to Avoid
- Skipping the gelatin blooming step.
- Whisking too vigorously and creating air bubbles.
- Pouring the glaze while it is too hot.
- Using warm or room-temperature cake layers.
- Trying to smooth the glaze with repeated spatula strokes.
- Using low-fat cream instead of heavy cream.
Nutritional Information
Approximate values per serving (based on 12 servings)
| Nutrient | Amount |
|---|---|
| Calories | 170 kcal |
| Carbohydrates | 28 g |
| Protein | 3 g |
| Fat | 7 g |
| Saturated Fat | 4 g |
| Sugar | 24 g |
| Fiber | 3 g |
| Sodium | 20 mg |
Also Read: Italian Meatball Soup
Frequently Asked Questions
Why isn’t my mirror glaze shiny?
The glaze may have been poured at the wrong temperature, contained too many air bubbles, or the cake surface may not have been smooth enough.
Can I make the glaze ahead of time?
Yes. Prepare it up to 5 days in advance, refrigerate it, and gently warm it back to pouring consistency before using.
Can I freeze mirror glaze?
Yes. Freeze it in an airtight container for up to one month. Thaw overnight in the refrigerator and reheat gently before use.
Can I use chocolate instead of cocoa powder?
Traditional cocoa-based mirror glaze creates a thinner, smoother coating. Chocolate-based versions are richer but generally produce a thicker finish.
Do I need special equipment?
No. A saucepan, fine-mesh strainer, mixing bowls, and a kitchen thermometer are enough to achieve excellent results.